
7 minute read · Existing panelling and design
Good hallway and stair panelling ideas start with the route through the house. Draw the doors, stair pitch, switches, radiators and narrow points before choosing a pattern. The design should make sense on the stairs and landing as well as in a photograph of the entrance.
For a Dundalk home, this is a planning guide rather than an installation offer. Dundalk Painting Services paints existing panelling. Where new panels are proposed, confirm the fitter, material and responsibilities separately before arranging the painted finish.
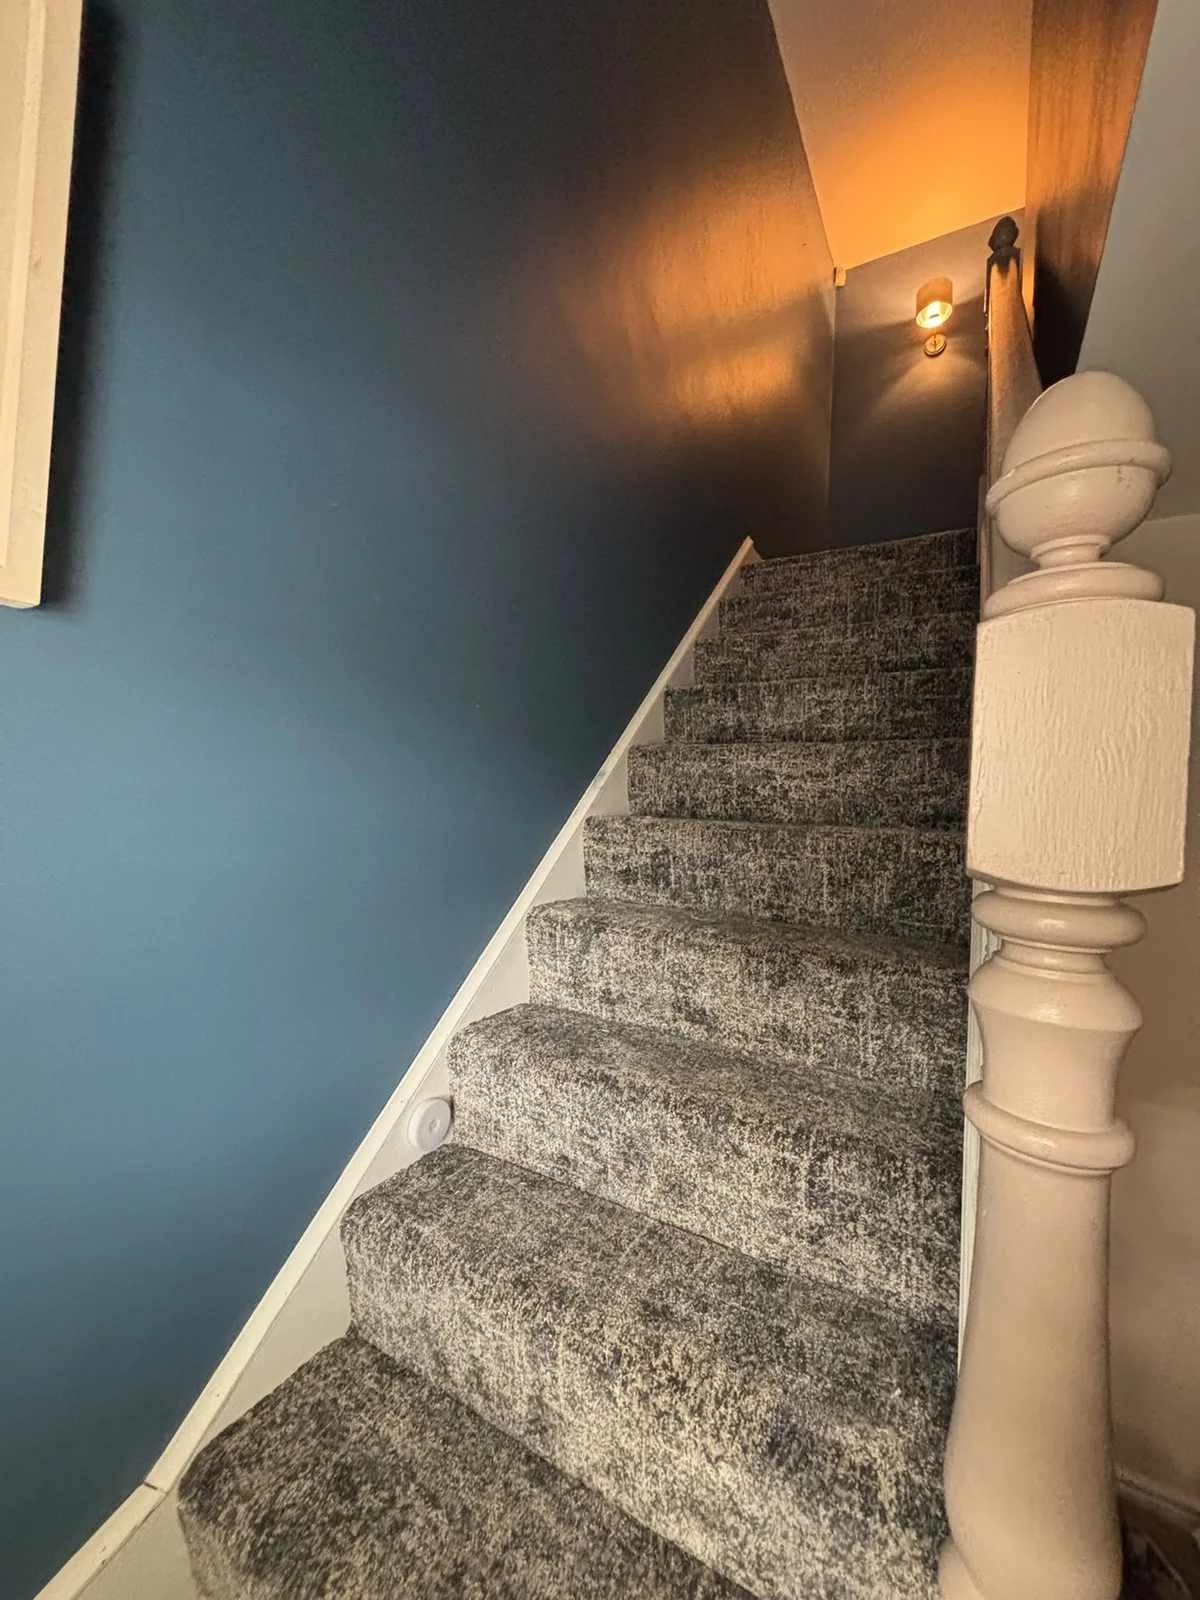
Plan along the stair pitch
A horizontal hallway rail becomes a different design problem when it reaches a stair flight. You can continue a related line along the slope, use individual frames arranged up the stairs or keep panelling to the level entrance. Each approach needs a deliberate transition at the bottom and top.
Draw a side elevation of the stair wall. Mark the slope, landing line, doors and existing handrail. Decide what the lower panel edge follows and where each frame starts and ends. If a design has a diagonal top, the same apparent frame height cannot be checked by casually measuring from different stair treads.
Compare the view from downstairs with the view walking down. A pattern that looks even in one elevation can become awkward where a long rail meets a short landing return. Solve these junctions on the drawing before discussing colour. Our panelling spacing and height guide explains the measurement conventions.
| Approach | What it can do visually | What must be resolved |
|---|---|---|
| Continuous sloping rail | Connects entrance and stair wall | Bottom transition, top landing and consistent reference line. |
| Individual stair frames | Creates a repeated sequence | Frame shape and spacing around handrail and switches. |
| Entrance-only panelling | Keeps the stair wall simpler | A deliberate stopping point before the flight. |
| Vertical groove layout | Continues repeated vertical lines | How board lines meet sloping caps and landings. |
Work around openings and switches
An entrance often has more interruptions than its size suggests: a front door, internal doors, a consumer unit, switches, sockets and a radiator. Draw the entire face of each accessory. A rail passing through the middle of a switch is a layout conflict, not a detail to conceal later.
Short wall sections beside doors may look better with a simpler treatment than a squeezed frame. Use the same profile or colour relationship to connect the scheme without forcing every piece of wall into an identical rectangle. Check how door architraves, caps and skirting end at each junction.
Keep access panels, ventilation and service points accessible. Electrical or plumbing alterations are separate work for the appropriate person. An inspiration photograph does not show concealed cables, valves or maintenance requirements, so it should not be treated as an installation drawing.
Keep circulation and width in view
Measure the hallway's narrowest usable point, including existing projections. Add the proposed depth of panels, rails or shelves to the drawing. In a tight entrance, even a visually small addition can matter beside a door swing, buggy storage or someone carrying a bag.
Consider how the hall is used each day. Where do coats hang, shoes collect and a schoolbag brush the wall? A projecting decorative shelf may interfere with those movements. A deep profile near a handrail can also raise practical questions that a flat photograph misses.
Do not remove or reposition handrails or guarding to make a pattern symmetrical. Ireland's Technical Guidance Document K concerns stairways and guards; decorative proposals affecting their function need competent assessment. This guide does not supply a minimum dimension or certify a particular layout.
A hypothetical hallway layout test
Imagine an entrance with a long clear wall on one side and three door openings on the other. A repeated grid with equal openings across every wall may create tiny fragments beside those doors. Instead, compare a regular rhythm on the clear wall with simpler framed areas between openings opposite.
Now add a stair flight. Decide whether the clear-wall rail should continue up it. Draw the landing before committing: a switch near the turn may require a different rail height or a different transition. The goal is a coherent route, not mathematical repetition at the expense of use.
Try three views on paper: standing inside the front door, looking up from the bottom step and looking back from the landing. Mark anything that appears cut off or crowded. This example has no prescribed dimensions because the actual door and stair geometry should control them.
Coordinate the painted finish and existing trim
A hall connects rooms with different colours and lighting. Decide whether panels relate primarily to the stair woodwork, the upper wall or the doors. Sharing a colour can reduce the number of visible changes; contrast can make the rail a deliberate feature. Test the relationship at both levels.
The panel face and upper plaster wall may need different coating systems even where the intended colour is the same. Sheen affects how handrail shadows and side lighting describe detail. Make a practical comparison with the existing doors and skirting instead of treating eggshell or satin as universal performance guarantees.
Orac's composition advice considers alignment with architectural features. Apply that as visual guidance, then choose coatings according to actual surfaces and current product instructions. Where hallway photographs are used for inspiration, describe only what is visible; neither a brand nor a colour code can reliably be identified from an image.
Plan the work around the household route
Painting a hallway involves more than the panelled area. Consider whether ceiling, upper walls, doors, skirting and stair woodwork will be included, and whether an older finish needs assessment before disturbance. Access to upstairs rooms and the entrance should be discussed as part of the project.
Our hall, stairs and landing painting guide covers the broader scope. For the design decision, keep a short list of retained features, proposed new panels and unresolved fitting questions. This prevents a decoration enquiry becoming an assumed agreement to install a new stair layout.
For existing-panelling painting in Dundalk and nearby areas, send your location and an honest picture of current condition. Photos help begin the conversation. A visit may be needed to assess access and the surfaces before the full scope is agreed.
Questions before you decide
Must the stair rail match the handrail height?
No universal visual rule settles that. The decorative rail, handrail and stair geometry need to be considered together, with practical function and applicable requirements protected. Draw their relationship from the bottom, turn and landing before deciding. Do not alter a handrail simply to align an attractive pattern. A competent installer should assess any proposal affecting stair use, guarding or access.
Can the hall be panelled while the stairs remain plain?
Yes, that is a design option. Choose a clear stopping point and consider how the profile, colour and skirting relate beyond it. The transition should look deliberate from the entrance and from upstairs. Compare a level-hall treatment with a full-route proposal before ordering materials. Keeping the stair wall simpler may be preferable where switches, handrails and short returns make the layout crowded.
Can I request the exact colour in the hallway photograph?
You can use it to describe a direction you like, but an image alone cannot establish an exact shade. Ask whether a verified product record exists. If it does not, choose physical samples in your own hallway rather than assigning a guessed brand or code. Also check which visible surfaces were painted; a completed photograph does not establish who supplied or fitted the panels.
Painting existing panelling: discuss your surfaces and scope. Contact the team with your area and photographs.